This article covers the same ground as the video below. Watch for the hands-on demo, read for the reference guide. Both cover the full UDM Pro setup process from first power-on through the dashboard.
What is the UDM Pro?
Ubiquiti started as a networking company building software-defined networking (SDN) products — hardware controlled through centralized management software. Their early product line required downloading and running the management application on your own hardware. The Dream Machine line consolidates everything: the management application, the router, the switch, and now also a network video recorder, all in a single appliance.
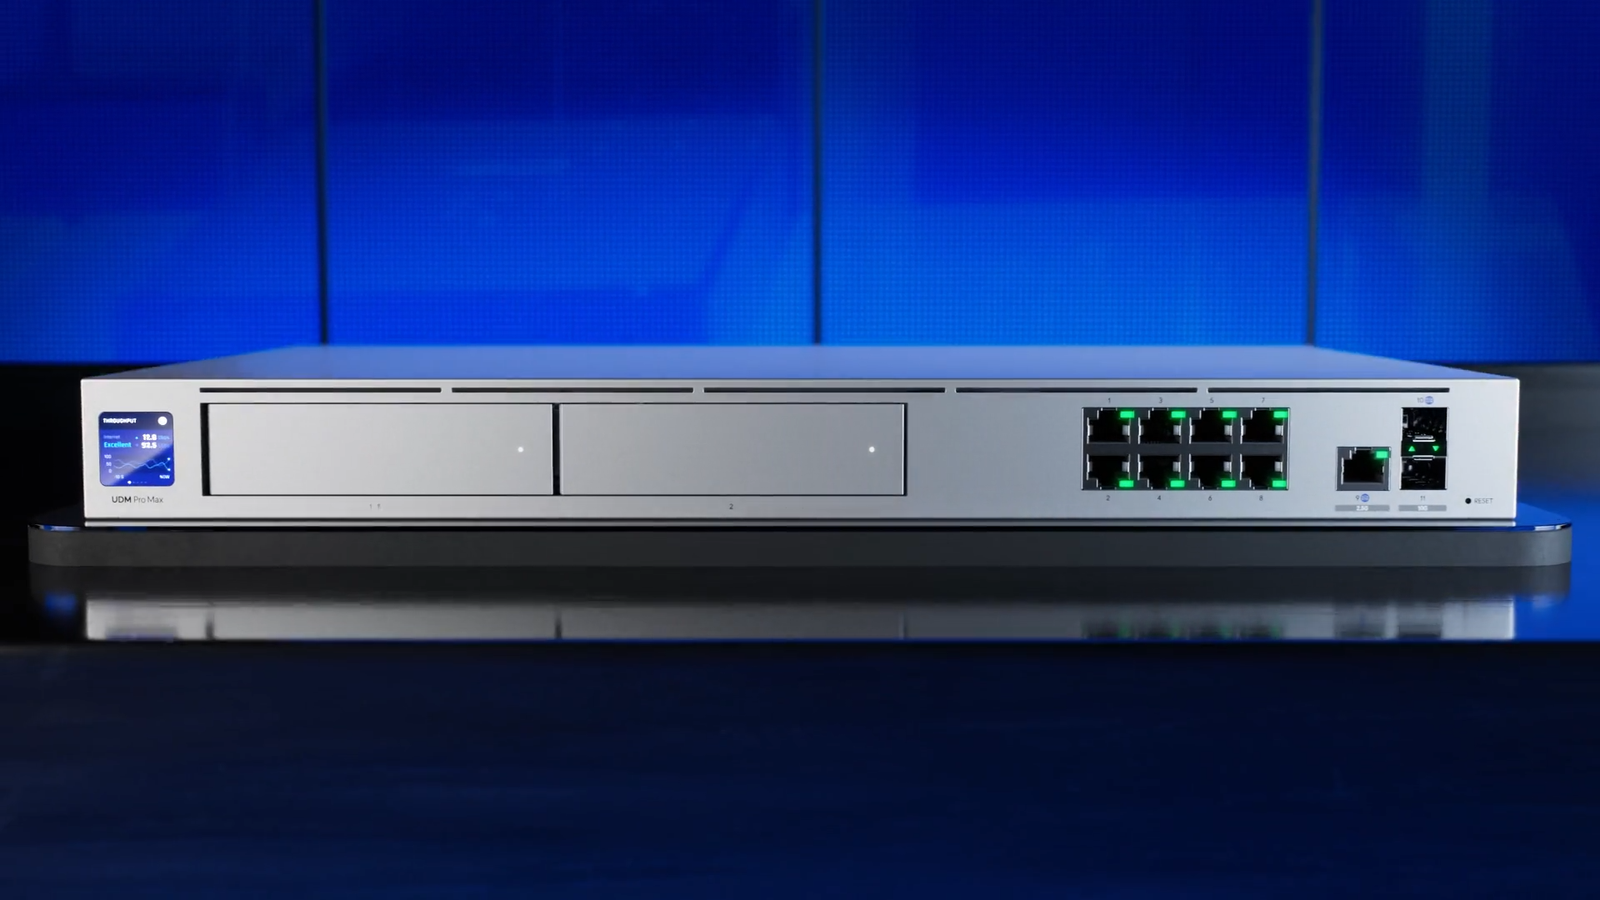
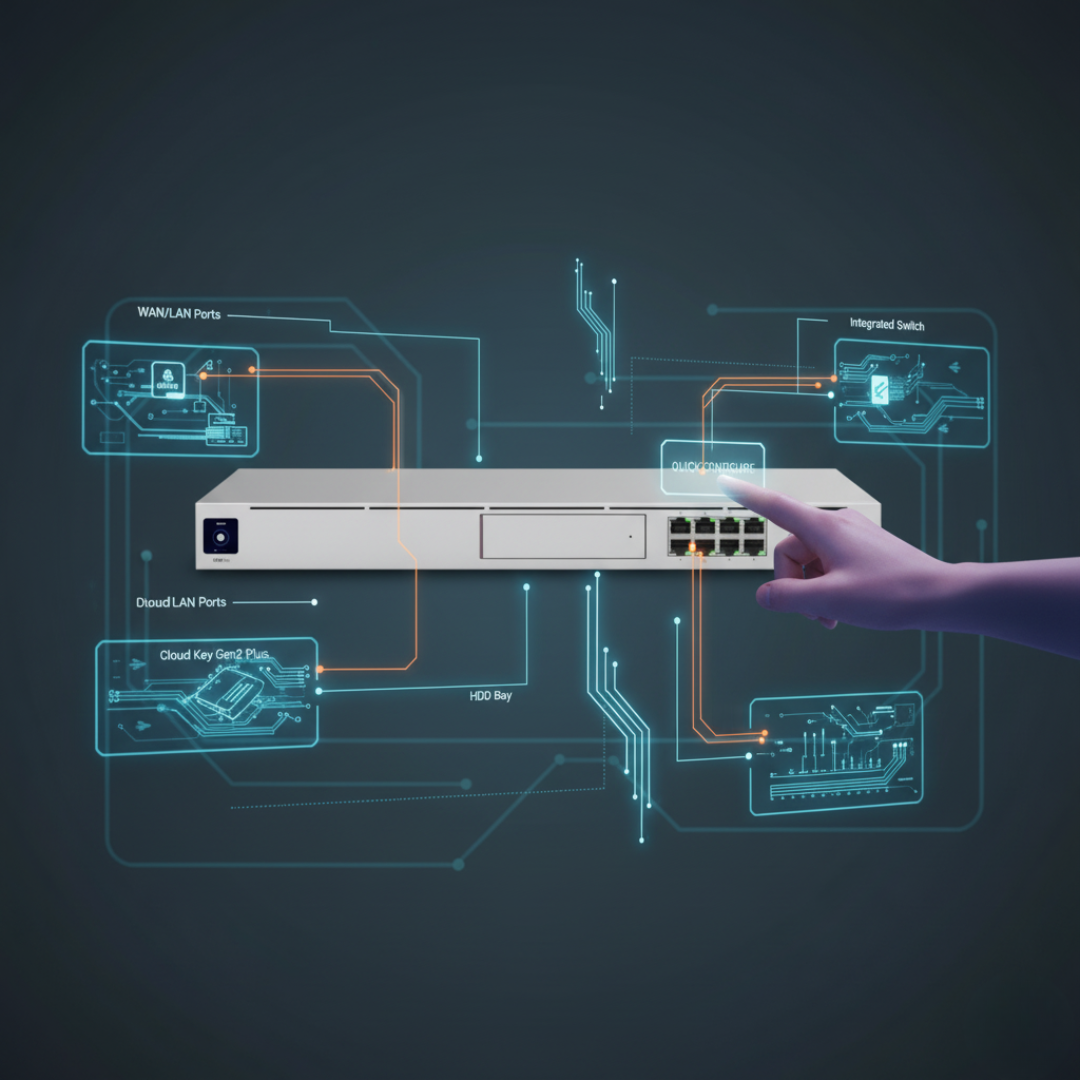
The UDM Pro specifically functions as a cloud gateway, router with stateful firewall and Layer 7 application inspection, PoE-capable switch, NVR with an HDD bay for camera storage, and the central control plane for all Ubiquiti equipment in your network. It's a significant upgrade over the typical consumer Wi-Fi router, and for a prosumer smart home, it's arguably the best bang-for-buck starting point.
Physical setup
The UDM Pro is a 1U rack-mountable device. For initial setup, proximity to a laptop and an internet connection matters more than permanent placement. The steps:
- Connect an Ethernet cable from your laptop to any LAN port (ports 1–8).
- Connect another Ethernet cable from the WAN port (port 9) to your internet source — existing router, modem, or switch. The UDM Pro needs an internet connection to download updates during first boot.
- Connect power. There's no power switch — like most professional networking equipment, the UDM Pro is designed to stay on.
The device will boot and likely update itself automatically, indicated on the front LCD panel. Give it a few minutes. After updates, open a browser and navigate to https://192.168.0.1 — the UDM Pro's default gateway address — to start first-time setup.
First-time setup wizard
The wizard first asks for a device name (this is just a label, not a hostname), then prompts you to create or link a UI account. A UI account ties the device to Ubiquiti's cloud services, enabling remote management, multi-factor authentication, notifications, backups, and Teleport/Site Magic VPN — all at no additional cost. If you prefer to keep the device entirely local and not linked to any cloud account, click the "local only" option and create a local admin account instead. That's what I did.
The setup wizard also runs an internet speed test. The UDM Pro will continue to monitor your ISP's speed and alert you to slowdowns and outages — useful data to have. You can let it run or skip and enter your plan speed manually.
Navigating the dashboard
Once setup completes and you're logged in, the main dashboard shows an at-a-glance view of your network: traffic volume, connected devices, active services, and any alerts. Here's a quick orientation of the main sections:
- Dashboard — primary statistics view. This is where you'll spend most of your time.
- Topology — a visual map of your network hierarchy from ISP through the UDM Pro to connected clients. Expands as you add more Ubiquiti devices.
- Devices — shows all adopted Ubiquiti equipment. Non-Ubiquiti devices appear in Clients, not here.
- Clients — all devices connected to the network. The UDM Pro identifies device types reasonably well.
- Ports — shows active physical ports, connected devices, and the VLAN assignments for each port.
- Insights — traffic analysis across the network. Shows bandwidth consumption by device, what external services each device is communicating with, and a geolocation view of traffic origins and destinations. Useful for spotting unexpected device behavior.
Settings overview
Under Settings, the key areas for a new installation:
- Control Plane — shows installed application versions (UniFi Network, Protect for cameras, Access for door hardware, Talk for VoIP, Connect for digital signage). Update these regularly.
- Backups — configure automatic backups. This is important before making significant configuration changes. Defaults to monthly; I'd recommend weekly or before any major changes.
- Console — device name, timezone, screen brightness, email service configuration, SSH access, remote access settings, and factory reset options.
- User Management — create additional admin accounts, define roles, configure identity services for VPN authentication.
- System — regional settings, integrations, SNMP, backup schedule, data retention, and firmware update management for connected Ubiquiti devices.
- Notifications — push alerts for network events: internet outages, power failover, DNS issues, unusual activity. Configure these before you rely on the system for anything important.
What's next
At this point you have a UDM Pro connected to the internet with DHCP running on the default network. Every device you plug into a LAN port will get an IP address and internet access. The next step — covered in the companion article — is creating additional VLANs, configuring wireless networks, and setting up firewall policies to segment your devices. A single flat network where everything can talk to everything is a starting point, not a finished setup.