This article covers the same ground as the video below — rack layout, switching architecture, patch panels, PoE distribution, wireless coverage, and protocol dongles. This is Part 7 of an 8-part series.
Why PoE changes the design
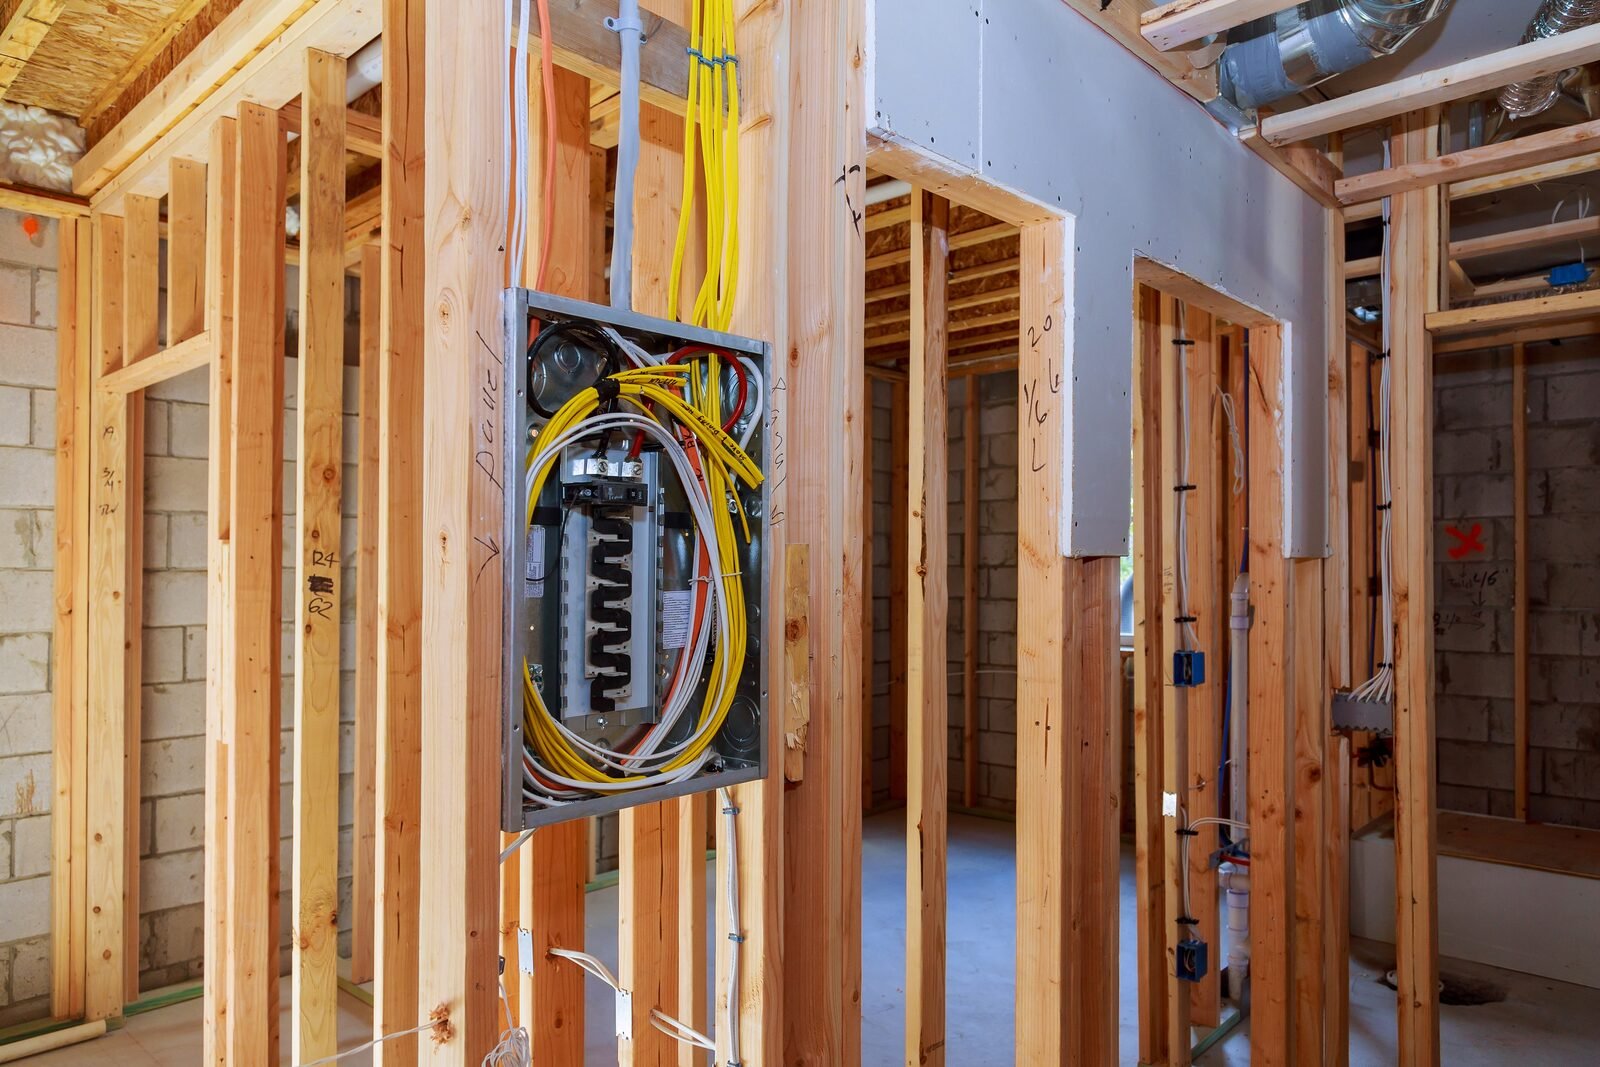
Power over Ethernet delivers both power and network connectivity over a single Cat6A cable. For a house with cameras, access points, doorbells, readers, and sensors spread throughout — including outdoors — this fundamentally simplifies the installation. Every device needs one cable run to the central rack rather than a separate network drop and a separate power outlet at each location. For a smart home designed from scratch, PoE isn't a convenience — it's the architecture.
The rack
A network rack is a standardized 19-inch enclosure for housing rack-mountable equipment. Each slot is measured in rack units (U), with each U equal to 1.75 inches of height. For a home of this scale with room to grow, a full 42U rack provides the space needed for all current equipment plus expansion capacity.
The rack houses, from top to bottom: the internet connection (cable modem on a 2 Gbps connection, configured in gateway-only mode to pass traffic straight to the UDM Pro), the Ubiquiti Dream Machine Pro (router, firewall, PoE switch, NVR, and control plane for all Ubiquiti equipment), two Ubiquiti ProMax 48 PoE switches (48-port each, with PoE+ and PoE++ gigabit and 2.5G ports plus four 10G SFP ports per switch), the Ubiquiti NVR Pro (24 4K cameras, 7 drive bays, ~30 days storage, 10G SFP), a Ubiquiti UNAS Pro (NAS for file storage, backups, and media, 10G SFP), a Ubiquiti AI Key (extended AI detection capabilities), a rack server (for Home Assistant, Docker, and applications), and the Ubiquiti Power Distribution Pro (16 remotely resettable outlets) with two Ubiquiti Power Backup units for critical devices.
Patch panels and cable management
All cable runs from devices terminate at 24-port patch panels rather than directly at the switch. Each panel position has a keystone jack where the solid-core premise run terminates. A short stranded patch cable connects the keystone to the switch port. This two-segment approach — solid core in the walls, stranded patch cables in the rack — is the correct architecture for several reasons.
Solid core cable is stiffer and harder to terminate into RJ45 connectors reliably; keystone terminations are easier and more consistent. Patch panels make it trivial to trace which cable goes where — label the panel, not the cable bundle. Patch cables absorb the flex and strain that would otherwise work the wall run over time. And the result looks organized, which matters in a rack you'll be working in for years.
The UDM Pro connects to the first switch via a Direct Attach Cable (DAC) on the SFP port — this carries traffic at 10 Gbps without the overhead of optical transceivers. The two switches connect to each other similarly. High-throughput devices (NVR, NAS) connect to 10G SFP ports on the switches. Everything else connects to the standard PoE gigabit or 2.5G ports.
Remote switches for room connectivity
Bedrooms, workrooms, and other areas that need more wired connections than a single run can provide get Ubiquiti Flex switches. These 5-port PoE switches are powered by the rack switches over the same premise run that carries their uplink — one cable to the room, five ports out. Laptops, desktops, printers, and additional devices connect to the Flex without requiring individual home-runs to the rack for each.
Wireless coverage
Three Ubiquiti U7 Pro access points — hardwired to the rack via patch panel, PoE-powered — provide coverage across both floors. They're staggered in placement to divide the house into roughly equal coverage zones, supporting 2.4, 5, and 6 GHz bands simultaneously. Wired APs with proper placement outperform consumer mesh systems significantly in throughput consistency and latency.
Protocol dongles
A Sonoff Zigbee 3.0 Plus USB dongle acts as the Zigbee coordinator, connecting to the server running Home Assistant via USB and managing the Zigbee mesh through the Zigbee2MQTT integration. A Z-Wave 800 series dongle provides Z-Wave capability as a future option — no Z-Wave devices are planned initially, but the dongle costs little and the option to add Z-Wave devices later is preserved without requiring additional hardware.